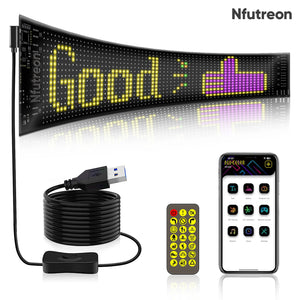
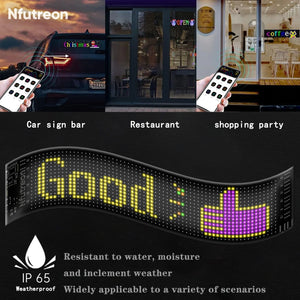
Installing flexible LED panels can be intimidating but with the right approach it’s a piece of cake. Here’s a step by step guide to help you avoid the common mistakes and pitfalls.

1. Choose the Right Panels
First off choose the right flexible LED panels for your project. Check the size, brightness and color temperature. Get it wrong and you’ll be in trouble down the line.
2. Clear the Workspace
Before you start clear the area where you’ll be working. A clean workspace prevents accidents and keeps everything tidy. Have all your tools and materials ready.
3. Read the Manual
Sounds simple but many people skip this step. Read the manual. It’ll save you time and prevent mistakes.
4. Measure and Plan
Measure the installation area carefully. Plan out where each panel will go. Mark the spots clearly. This will prevent misalignment and make the installation smoother.
5. Handle with Care
Flexible LED panels are fragile. Handle them with care. Don’t bend them too much or apply too much pressure.
6. Secure Panels
Use the right mounting hardware. Follow the instructions to secure the panels so they don’t fall or shift over time. Make sure they’re level and straight.
7. Check Connections
Make sure all electrical connections are secure before you turn on the power. Loose connections will cause flicker or damage the panels.
8. Test the Installation
Once everything is installed test the panels. Check for any issues like flicker or uneven lighting. Fix any problems before you’re done.
9. Maintenance
After installation maintain your panels. Clean them softly and check for any wear. Maintenance is key to longevity and performance.
Done!


